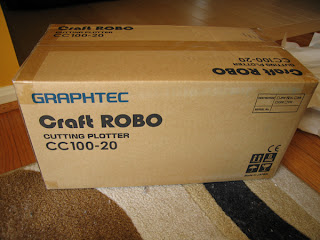
I ordered this through ebay last week. This would've arrived earlier but stupid FedEx required someone in person to sign for it.
Well its finally here.
...
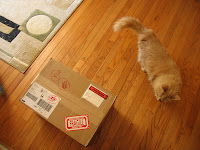
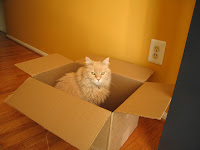
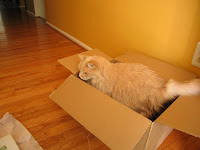
And here is my cat who loves the box it came in. or not, she just looks kinda grumpy there.

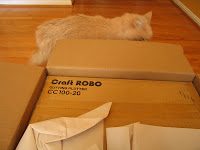
So anyhow.... heres the real thing:
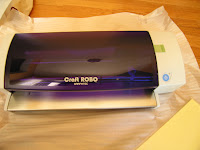

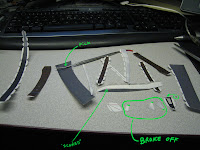
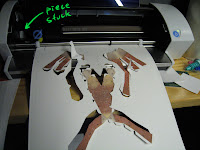
quite a few failures during testing that I didnt take pictures of, but I did try making vinyl decals, first with vectors from illustrator and using their provided plug-in to cut the decals out with the craft robo. (btw, the vinyl came from a 24 pack set also bought from ebay)
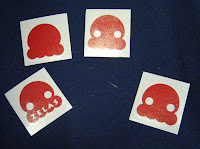
Some more failure tests afterword, but thats about all I have today!
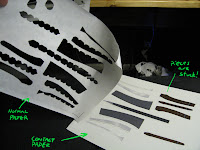
Ah yes, one more thing. Here are the steps of going from illustrator to craft robo (first posted on 4chan's /po/ board) :
- open up the .pdo with pepakura designer 2
- export the cut lines to ".dxf"
- export the bmp out
- open up Illustrator (CS)
- import the bmp and lock the layer
- import the .dxf file (it will be all the lines, color coded) for cutting it up.
- you will have to match the .dxf to the bmp, make sure the lines are a close fit.
- use the craft robo plugin to place registration marks on the edges of the document
- if anything is outside the registration, then move it in.
- print out the image (make sure you turn off the lines layer if you dont want it to show)
- load the printed pattern into the craft robo
- use the plugin in Illustrator under "craft robo> settings" to tell it what kind of cut marks you want for the outside lines and the fold lines
(it can "score" the fold lines, but what it really does is make perforated cuts, which isnt very good for small pieces). - after all adjustment complete, click on "craft robo" in the dialog box and it will load up the configure to cut it out!
1 comment:
This was the perfect opportunity to box up your cat and send her to Abu Dhabi.
Like Garfield used to do to Nermal.
Post a Comment